How to Prepare Walls and Ceilings for Plastering
Proper wall and ceiling preparation is critical for a smooth, long-lasting plaster finish. Without correct preparation, plaster may crack, peel, or fail to adhere. Professionals follow a step-by-step process to ensure flawless results.
Step 1: Inspect Walls and Ceilings
Check for cracks, water damage, hollow areas, or previous repairs. Identify surfaces that need reinforcement or replacement.
- Professional guidance helps spot hidden issues: professional drywall repair services
- Addressing underlying problems prevents recurring plaster issues.
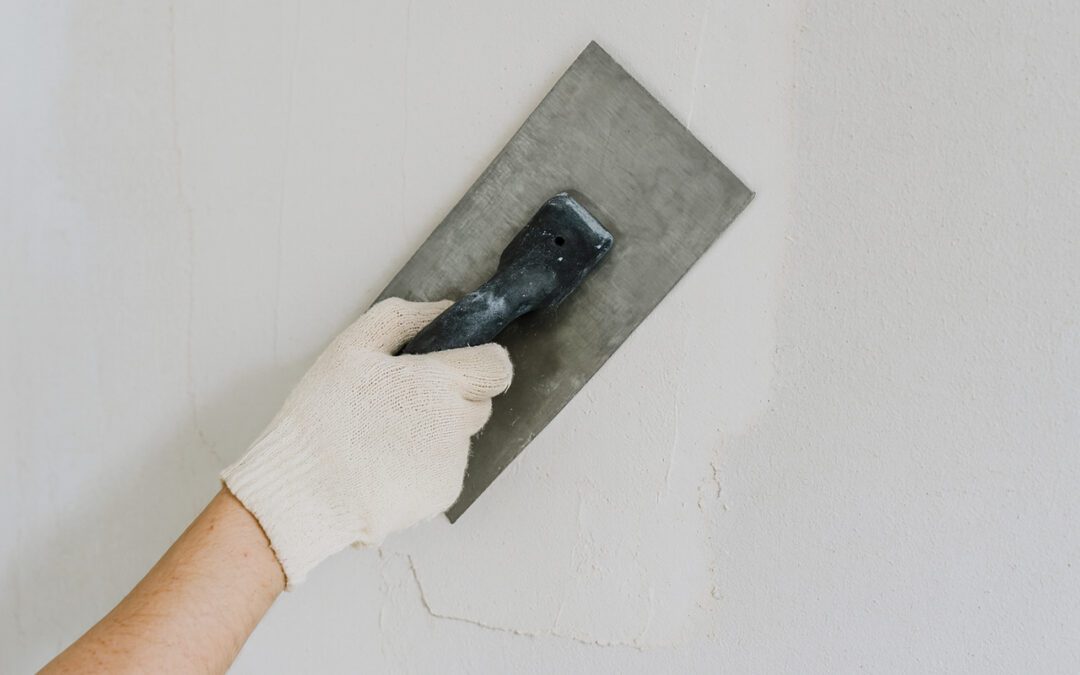
Step 2: Remove Loose or Damaged Material
Any flaking plaster, wallpaper, or debris should be removed before plastering. This ensures proper adhesion of the new plaster layer.
Step 3: Repair Cracks and Holes
- Small cracks: Use jointing tape and filler.
- Large cracks or damaged boards: May require partial reboarding.
- Water-damaged areas: See how to repair water damage before plastering.
Step 4: Sand and Clean Surfaces
Sanding rough spots creates a smooth base. Clean dust and debris thoroughly to ensure plaster sticks properly.
Step 5: Apply a Bonding Agent
On older walls or smooth surfaces, a professional may use a primer or bonding agent to improve plaster adhesion.
Step 6: Reinforce Weak Areas
Hollow spots, loose boards, or previously patched areas may require reinforcement. Experts use mesh or backing boards to prevent cracks.
Why Professional Preparation Matters
- Ensures long-lasting plaster finish
- Reduces risk of cracks, peeling, or bubbling
- Saves time and avoids costly rework
For a detailed cost guide, see cost of skimming walls and ceilings. For project timelines, see how long plastering takes.
Conclusion
Wall and ceiling preparation is the foundation for professional plastering. Proper inspection, repair, cleaning, and reinforcement ensure smooth, durable results. Request a professional quote to prepare your walls efficiently and avoid common plastering issues.